
Chunky banana ice cream strikes the perfect balance between indulgence and nutrition. Loaded with sweet banana pieces, crunchy walnuts, and chewy raisins, this easy frozen banana treat is naturally sweetened, dairy-free, and packed with fiber. It delivers all the creamy satisfaction you’d expect from a traditional homemade banana ice cream but without added sugar or complicated methods.
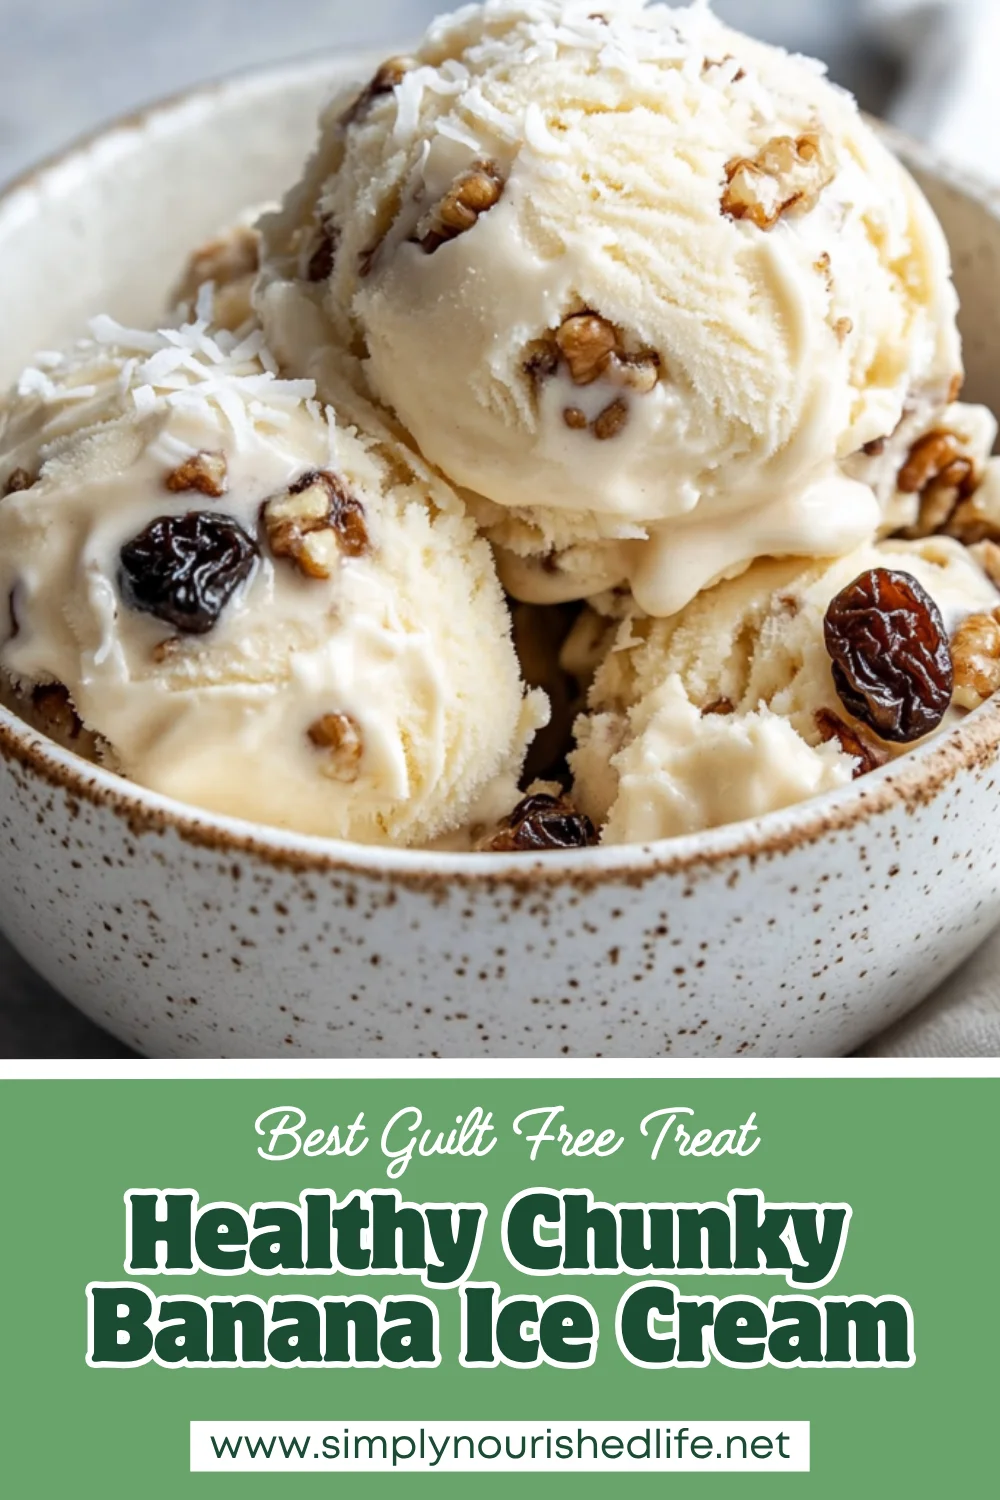
We love this recipe because it’s a vegan banana cream freeze recipe that requires no fancy equipment or ice cream machine. Perfect for summer days or whenever you’re craving a guilt-free dessert, it’s a crowd-pleaser for health-conscious families. Let us show you how this simple no-churn banana ice cream recipe can fit into your healthy lifestyle!
Why This Chunky Banana Ice Cream Is Good for You
- Rich in potassium: Bananas are a fantastic source of potassium, which supports heart health and muscle function.
- Vegan and dairy-free: This recipe skips the cream and uses almond milk for a plant-based twist, making it friendly for lactose-intolerant diets.
- Loaded with healthy fats: Walnuts and peanut butter provide essential omega-3 fatty acids and protein.
- High in fiber: From the bananas, raisins, and shredded coconut, this dessert keeps you feeling fuller longer.
- Gluten-free: Every ingredient in this healthy banana dessert is naturally gluten-free, so you can enjoy it worry-free!
Wholesome Ingredients for This Chunky Banana Ice Cream
We’ve carefully selected a few powerhouse ingredients for this easy frozen banana treat, ensuring both flavor and nutrition:
- Bananas: Freeze ripe bananas to naturally sweeten your ice cream while providing potassium and vitamin B6. For the best results, choose bananas with a few brown spots—they’re sweeter and creamier.
- Almond milk: A light, plant-based alternative to heavy cream. You can swap it for coconut milk if you prefer a richer texture.
- Peanut butter: Adds creaminess and protein. Opt for natural peanut butter with no added sugars or oils.
- Walnuts: For that irresistible crunch, sprinkle in some chopped walnuts. Pecans or sunflower seeds can work as substitutes for a nut-free option.
Chunky Banana Ice Cream Recipe Details
- Servings: 6 servings (3 cups)
- Prep Time: 15 minutes
- Additional Time: 2-4 hours (freezing)
- Cuisine: Dessert
- Calories: 181 per serving
Chunky Banana Ice Cream Ingredients
- 5 medium bananas, peeled and frozen
- 1/3 cup almond milk
- 2 tablespoons unsweetened finely shredded coconut
- 2 tablespoons creamy peanut butter
- 1 teaspoon vanilla extract
- 1/4 cup chopped walnuts
- 3 tablespoons raisins
Step-by-Step Instructions
- Combine the bananas, almond milk, shredded coconut, peanut butter, and vanilla extract in a food processor. Blend until smooth and creamy, occasionally scraping down the sides to ensure everything is evenly incorporated.
- Transfer the mixture to a freezer-safe container. Stir in the chopped walnuts and raisins, distributing them evenly for bursts of texture and flavor in every bite.
- Cover tightly and freeze for 2-4 hours. You’ll want the ice cream to firm up without becoming solid, so check periodically.
- To serve, let the container sit at room temperature for a few minutes to soften slightly. Scoop into bowls and enjoy!
How to Customize This Chunky Banana Ice Cream for Your Diet
- Keto-friendly: Swap the bananas for frozen avocado and use a keto-approved sweetener like stevia or monk fruit.
- Higher protein: Replace almond milk with protein-fortified plant milk, and add a scoop of vanilla protein powder.
- Nut-free: Use sunflower seed butter in place of peanut butter and eliminate walnuts or substitute with seeds.
- Lower calorie: Reduce the peanut butter to 1 tablespoon and skip the raisins without sacrificing much flavor.
Our Team’s Tips for the Best Chunky Banana Ice Cream
- Freeze bananas properly: Peel and slice bananas before freezing them. This makes blending faster and easier.
- Don’t skip the mix-ins: The walnuts and raisins add incredible texture and flavor bursts. Feel free to experiment with mini chocolate chips or dried cranberries.
- Storage: Store leftover ice cream in a tightly sealed container and enjoy within 1 week.
- Thaw wisely: If the ice cream becomes too stiff, let it sit out for 5-10 minutes before scooping for the perfect consistency.
- Make it in batches: Double the recipe and store extras so you always have a healthy dessert on hand.
Chunky Banana Ice Cream FAQs
Can I use a blender instead of a food processor?
Yes, a high-powered blender works well if you don’t have a food processor. Just make sure to scrape down the sides frequently.
Is this recipe suitable for kids?
Absolutely! This homemade banana ice cream is naturally sweet and loaded with nutrients, making it a kid-friendly choice.
What can I replace bananas with?
For a banana-free version, try frozen mango or peaches, though the taste and texture will vary slightly.
Can I make this ahead of time?
Yes! This no-churn banana ice cream recipe can be made days in advance. Thaw slightly before serving to soften.
Is this dessert suitable for weight loss?
It can be! Since it’s low in added sugars and high in fiber, this healthy banana dessert fits well into many weight management plans.
We hope you love this chunky banana ice cream as much as we do! What’s your favorite healthy dessert to make at home? Drop a comment below—your thoughts inspire new recipes for us every day!
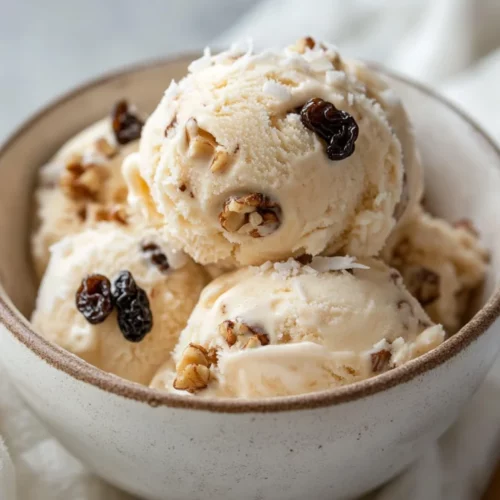
Chunky Banana Ice Cream
Ingredients
- 5 medium bananas, peeled and frozen
- 1/3 cup almond milk
- 2 tablespoons unsweetened finely shredded coconut
- 2 tablespoons creamy peanut butter
- 1 teaspoon vanilla extract
- 1/4 cup chopped walnuts
- 3 tablespoons raisins
Instructions
- Combine the bananas, almond milk, shredded coconut, peanut butter, and vanilla extract in a food processor. Blend until smooth and creamy, occasionally scraping down the sides to ensure everything is evenly incorporated.
- Transfer the mixture to a freezer-safe container. Stir in the chopped walnuts and raisins, distributing them evenly for bursts of texture and flavor in every bite.
- Cover tightly and freeze for 2-4 hours. You’ll want the ice cream to firm up without becoming solid, so check periodically.
- To serve, let the container sit at room temperature for a few minutes to soften slightly. Scoop into bowls and enjoy!