
This Vegan microwave mug brownie is the ultimate single-serving dessert to satisfy a chocolate craving in under 15 minutes. Made with simple ingredients like coconut oil, unsweetened cocoa powder, and a splash of milk, it’s rich, moist, and incredibly easy to whip up, no oven required!
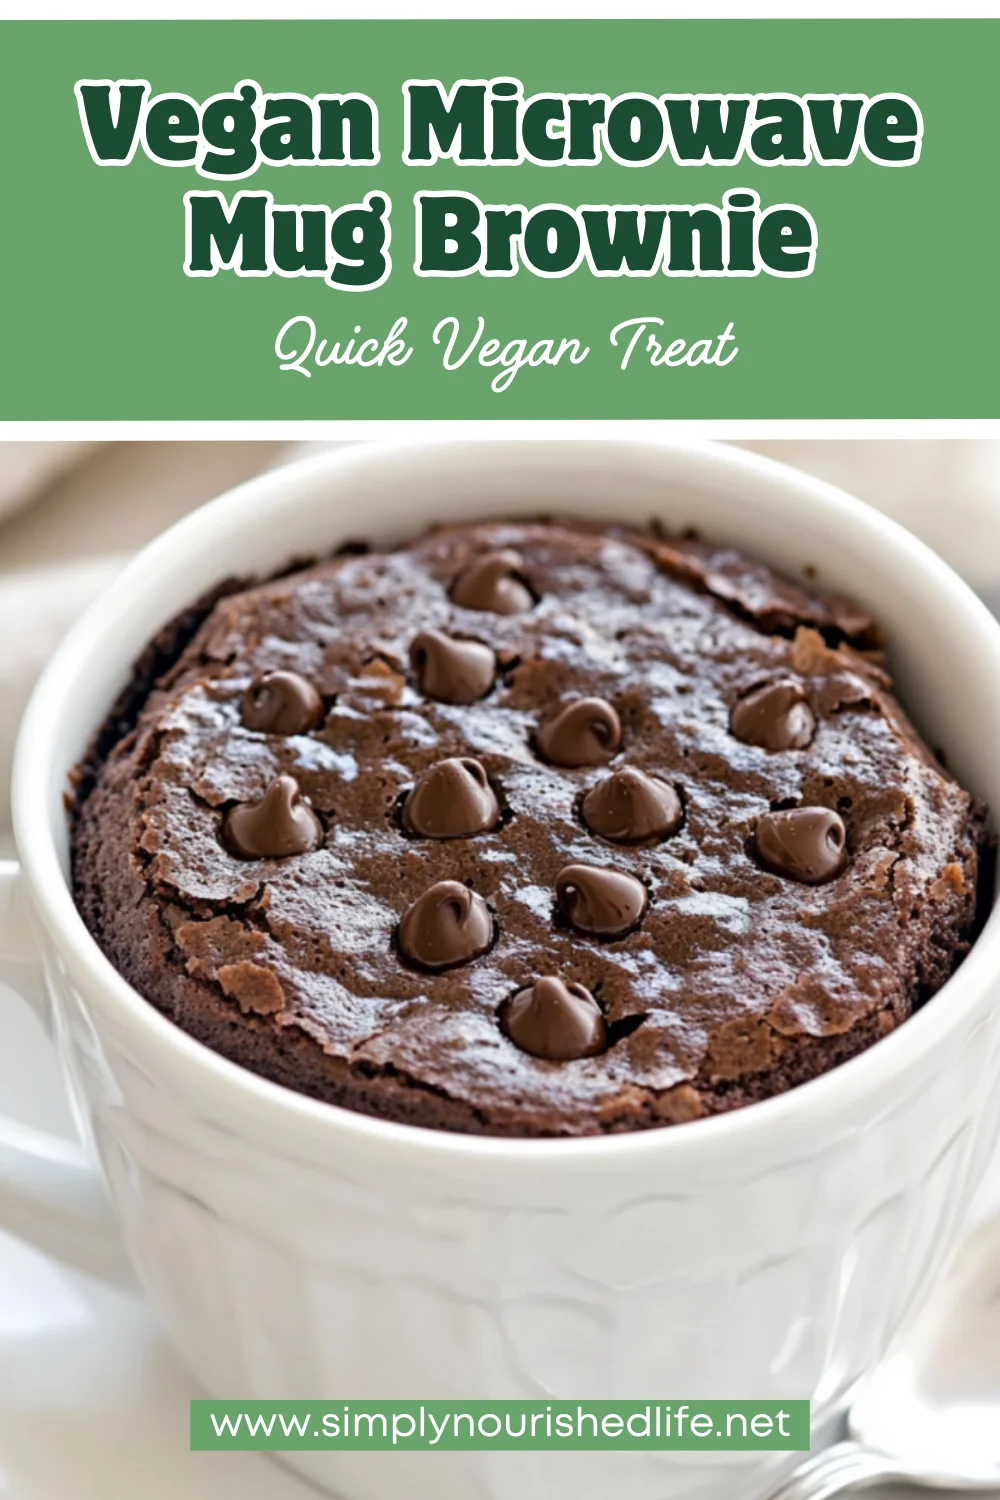
The first time we tried this recipe was during a late-night chocolate craving, and it instantly became one of our favorite go-to treats. Whether you’re looking for a portion-controlled dessert, a quick indulgence after dinner, or a fun recipe to make with kids, this mug brownie ticks all the boxes. Bonus: it’s also egg-free and super easy to make with pantry staples!
Why You’ll Love This Mug Brownie
- Quick & Easy: Ready in just 15 minutes with minimal cleanup.
- Portion-Controlled: Perfect for when you want *just one* serving.
- Egg-Free: Great for anyone who prefers or needs to skip eggs.
- Customizable: Easily adapt it to suit your taste or dietary preferences.
Recipe Info
- Cuisine: American
- Servings: 1 brownie
- Prep Time: 5 minutes
- Total Time: 15 minutes
What You’ll Need for This Microwave Mug Brownie
This recipe uses common ingredients you likely already have on hand. Here’s the full list:
- 1 tablespoon coconut oil (melted)
- 2 tablespoons unsweetened coconut milk or low-fat milk
- 1/4 teaspoon vanilla extract
- 1 1/2 tablespoons all-purpose flour
- 1 tablespoon sugar
- 1 tablespoon unsweetened cocoa powder
- 1/8 teaspoon salt
- 2 teaspoons mini chocolate chips (optional, but delightful!)
How to Make a Microwave Mug Brownie
Making this mug brownie is as easy as mixing, microwaving, and enjoying—all in the same mug!
- Melt the Coconut Oil: Add the coconut oil to a small, microwave-safe coffee mug and microwave on high for 15–20 seconds until melted. Let cool for 1 minute to avoid cooking any other ingredients too quickly.
- Mix the Wet Ingredients: Whisk in the coconut milk (or low-fat milk) and vanilla extract until well combined.
- Add the Dry Ingredients: Stir in the flour, sugar, cocoa powder, and salt. Whisk until the mixture is smooth and free of lumps.
- Optional Add-Ins: Fold in the mini chocolate chips if you’d like an extra chocolatey surprise.
- Microwave: Place the mug back in the microwave and cook on high for 30–40 seconds. The brownie should look firm to the touch and no longer glossy. Be cautious not to overcook, as it continues to set while cooling.
- Let It Cool: Allow the mug brownie to stand for 8–10 minutes before digging in—this ensures the perfect texture!
Test Kitchen Tips for the Perfect Microwave Mug Brownie
- Don’t Skip the Cooling Time: It might be tempting to dive right in, but resting the brownie gives it time to firm up and develop its ideal texture.
- Mug Size Matters: Use a standard-sized coffee mug to prevent overflow while cooking.
- Customize Your Flavor: Swap vanilla extract for peppermint or almond extract for a fun twist.
- Make It Vegan: Use plant-based milk like almond or soy milk and dairy-free chocolate chips.
Variations, Storage, and Serving Ideas
This mug brownie is endlessly adaptable. Here are some suggestions to make it your own:
Flavor Variations
- Add a pinch of cinnamon or instant coffee granules to enhance the chocolate flavor.
- Top with whipped cream, a scoop of your favorite ice cream, or a drizzle of caramel sauce.
- Mix in a tablespoon of chopped nuts or dried fruit for added texture.
Storage Tips
Although this brownie is best eaten fresh, you can cover the mug and leave it at room temperature for up to 12 hours. Reheat for 10 seconds in the microwave if needed.
Nutrition Facts
Here’s what you can expect nutritionally from one serving of this mug brownie (estimates):
- Calories: 190
- Protein: 2g
- Fat: 9g
- Carbohydrates: 25g
- Fiber: 1g
- Sugar: 14g
Frequently Asked Questions
Can I make this mug brownie without coconut oil?
Yes, you can substitute melted butter or a neutral oil like vegetable oil. However, coconut oil adds a subtle richness that enhances the flavor.
What if I don’t have coconut milk?
Not to worry! You can use any milk you have on hand, including dairy or plant-based options like almond or oat milk.
How do I know when the brownie is done?
The brownie should be firm to the touch and no longer glossy on the surface. Start with 30 seconds in the microwave and add 5-second increments as needed.
Can I make this for more than one person?
Absolutely! Simply multiply the recipe by the number of servings you need and prepare each mug individually for best results.
Give This Mug Brownie a Try!
We hope this recipe inspires you to whip up your own microwave mug brownie the next time a chocolate craving strikes. It’s quick, simple, and oh-so-satisfying! Don’t forget to snap a photo of your creation and tag us on social media. We’d love to see how you enjoy yours!
Looking for more quick and easy desserts? Check out our other popular recipes, like our no-bake energy balls or 5-minute banana mug cake. Happy baking!
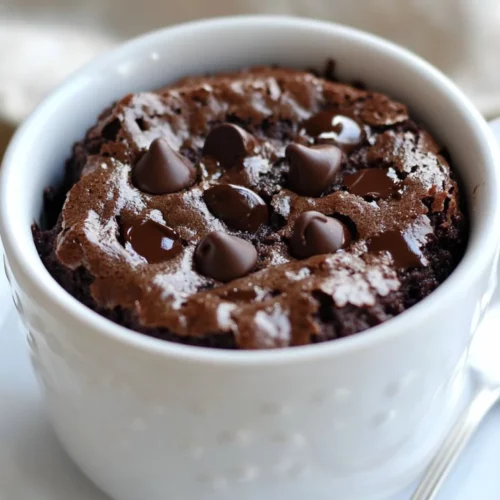
Vegan Microwave Mug Brownie: A Quick and Easy Dessert for One
Ingredients
- 1 tablespoon coconut oil melted
- 2 tablespoons unsweetened coconut milk or low-fat milk
- 1/4 teaspoon vanilla extract
- 1 1/2 tablespoons all-purpose flour
- 1 tablespoon sugar
- 1 tablespoon unsweetened cocoa powder
- 1/8 teaspoon salt
- 2 teaspoons mini chocolate chips optional, but delightful!
Instructions
- Melt the Coconut Oil: Add the coconut oil to a small, microwave-safe coffee mug and microwave on high for 15–20 seconds until melted. Let cool for 1 minute to avoid cooking any other ingredients too quickly.
- Mix the Wet Ingredients: Whisk in the coconut milk (or low-fat milk) and vanilla extract until well combined.
- Add the Dry Ingredients: Stir in the flour, sugar, cocoa powder, and salt. Whisk until the mixture is smooth and free of lumps.
- Optional Add-Ins: Fold in the mini chocolate chips if you’d like an extra chocolatey surprise.
- Microwave: Place the mug back in the microwave and cook on high for 30–40 seconds. The brownie should look firm to the touch and no longer glossy. Be cautious not to overcook, as it continues to set while cooling.
- Let It Cool: Allow the mug brownie to stand for 8–10 minutes before digging in—this ensures the perfect texture!